Monday, November 15, 2010

Finally, A Pennant

It may not be a Cubbies Pennant, but gosh darn it, it's a pennant.

As I mentioned here, I got a new job, thus a new classroom and four very institutionally bare walls. The Hubs and I have several team pennants in the basement and I love showing school/team pride, but I'm not going to steal from our sporty family room and I'm certainly not going to go out and buy new ones.

I bought some felt, printed stencils, glued 'em on and DONE.


You'll need:

1 rectangle sheet of stiff felt
1 8x11(ish) piece of regular felt (for the border and lettering)
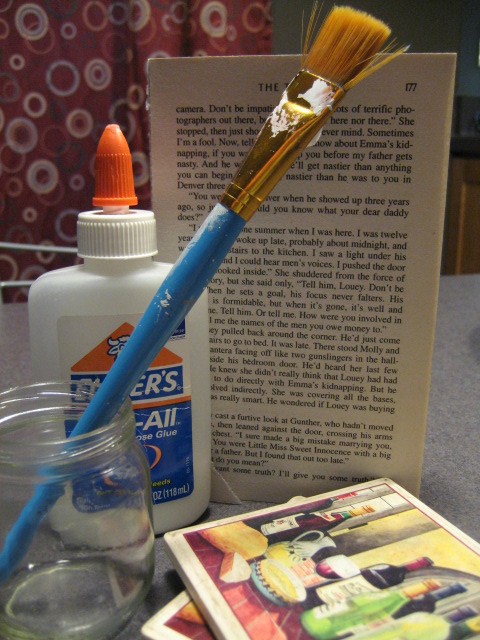
hot glue
letter stencils (or print some letters using Word and cut 'em out, I'll show you how to use  them in a minute)
scissors

Use a pennant you already have as your stencil. Mine was too big for the felt I had, so I just modified it.


I traced it, then cut.


Yeah, I totally switched out the felt on ya. I made two and planned on showing you both, but somehow deleted a majority of the blue pennant's photos. Sleepy.

Then I added a border on the left edge. You'll notice the glue spot near the top. This is when I switched to hot glue. Apparently, fabric glue seaps right through felt.


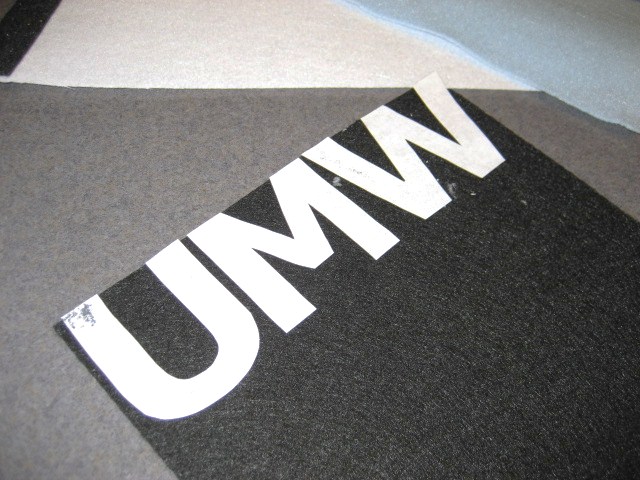
Stencil time. I printed some letters; no stencils to be found. Be sure to use a simple font. Those curly q fonts would be murderous to your hands.


Once you've cut them out, flip them over and glue them on to your felt *with hot glue ;-) Cut 'em out and glue them right side up (paper side down) onto your pennant.


Yay. Pennants for the classroom.


and here they are in my room!


What teams/schools would you make a pennant for?

<3 dani


The Coast-er with the Most...er Somethin'

Yes, this is another post on coasters. If you missed the first one, here it is. But this one is totally different...with the exception of the coasters and the crafting...tee hee.

While redoing our bedroom, I realized that our ugly, old, wine-stained coasters weren't really appropriate for our sophisticated, adult master bedroom. New coasters weren't an option. Have you ever priced those things?! Seriously, they hold condensation, not little drops of gold. The Hubs would say "Don't you respect the wood enough to spare it from water, no matter the cost?!!" Well, he has a point, but I'm doin' it for free.


I started with a couple of old ceramic coasters (I had these on hand, but I see similar ones every visit to Salvation Army), left over book pages from this project, homemade mod podge, sealer, and a brush.


I made the adhesive mod-podge-wannabe by adding a little water to regular Elmer's Glue. That particular bottle was completely usable. The top had irreparably dried up, so I just cut the bottle and poured the glue into a baby food jar, then added the water. Simple.


Then I ripped up the book pages. The main reason I did this was to conceal the content of the book. I'd rather not be tempted to read a poorly written FBI fiction/fantasy book every time I set my glass down.


After I ripped the pages into little pieces, I began gluing them on in no particular order or pattern.


When they dried, I sealed then varnished. I have no idea if I did that in the proper order, but as long as it's waterproof, I'm happy.


And here they are. Much more mature (and functional).


<3 dani